
Operation from Print Manager
You can edit print settings of a secure job using Print Manager on a computer.
Use Print Manager to log in to this machine. For details about how to access Print Manager, refer to Access to Print Manager.
The Print Manager screen is displayed.
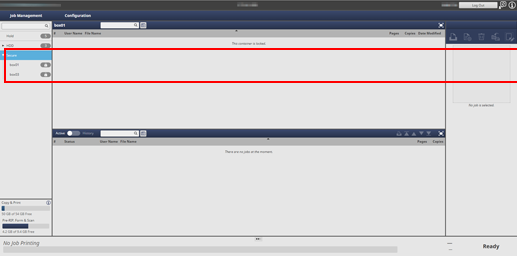
Click
 of Secure to display the user box containing the target secure job. Click
  .
.
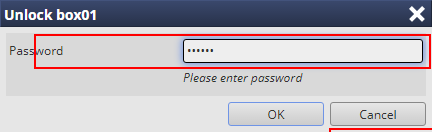
Enter the password on the Unlock screen, then click OK.
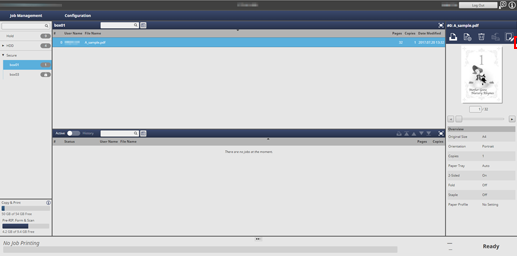
Print jobs stored in the selected Box are displayed.
Select one job to be edited.
supplementary explanationIn Print Manager, you can only edit print jobs. To edit a copy job or scan job, use the touch panel of the main body.
Click Job Settings in Job Management.
supplementary explanationYou can also select a job and select Job Settings from the right-click menu to perform the same operation.
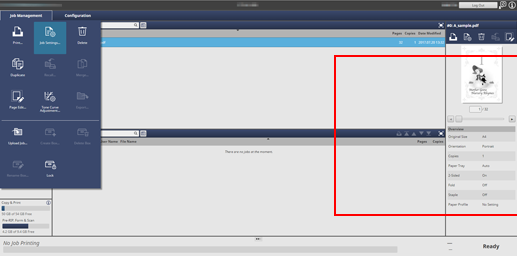
supplementary explanationYou can click Tone Curve Adjustment to adjust the tone curve. For details, refer to Adjusting Tone Curve for Secure Job.
The specified job is called and the Job Edit (print setting) screen is displayed.
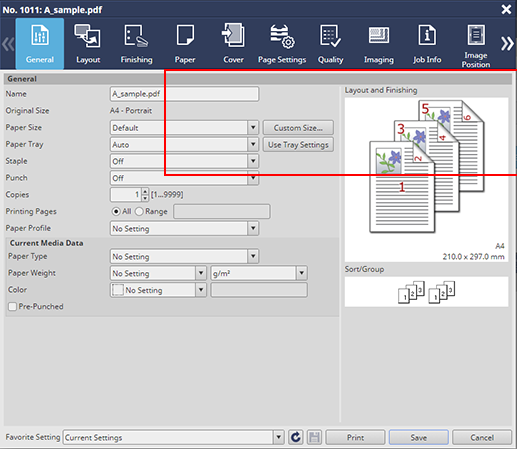
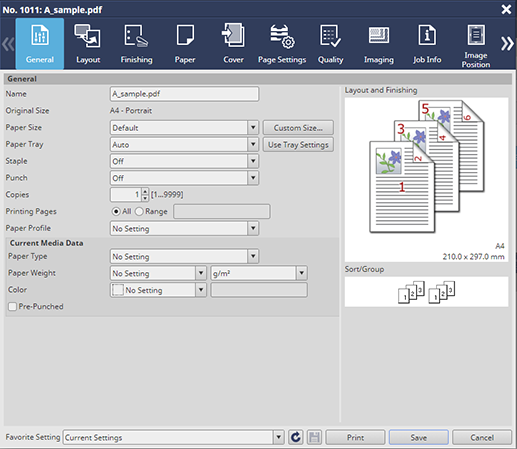
Click the tab of the item to edit and change the setting.
The Job Edit (print setting) screen of Print Manager allows you to make the following settings.
For more details of each item, refer also to the following.
supplementary explanationOverview of Job Editing
supplementary explanationPS Plug-in Driver
Tabs
Setting
General
Name, Original Size, Paper Size, Paper Tray, Staple, Punch, Copies, Printing Pages, Paper Profile
Layout
2-Sided, Imposition, Binding Position, Imposition Quality, Page Interval, Creep Adjustment, Booklet Cover Blank Page Insertion, Booklet Splitting, Book Spread, Poster Printing, Original Size, Paper Size, Zoom, Full Bleed, 180° Rotate
Finishing
Binding Position, Staple, Divided Output, Punch, Fold, Ring Binding (varies depending on the connected options), Output Tray, Feed Direction, Output Order, Sort/Group, Offset Output Copies, Offset Output Sheets, Needless Tab Ejection
Fold
Fold, Folding Direction, Multi Half-Fold Details, Number of Crease, Crease Side, Crease Position, 2-Side Slitting, Top Slitting, Bottom Slitting, Offset against Cover
Paper
Acquire Tray and Paper Data, Tray Settings, Paper Profiles
Cover
Banner Tray, front cover (PI Front Cover Tray and Front Cover Tray), back cover (Back Cover Tray and PI Back Cover Tray)
(The PI front cover tray and PI back cover tray are available only when Post Inserter PI-502 is connected.)Perfect Binding
Mode, Cover Trim, Cover 2-Sided, Cover Tray, Cover Size, Paper Profile
Page Settings
Page Settings, Chapters, Tab Settings
Quality
Auto Image Adjustment, Patch Adjustment, Auto Inspection
Imaging
Resolution, Screening, Outline Process, Use CIE Color, 1 Dot Line Emphasis, Auto Image Adjustment
Job Info
Color Bar, Job Settings Information, Printed Items
Image Position
Image Shift, Tab Image Shift, Image Position
Marks
Crop Mark, Setting for Imposition, Only on Front Side, Corner Crop Mark Type, Trim Margin, Horizontal Shift, Vertical Shift, Trim Line, Use PDF Trim Box, Trim Line Size, Trim Margin, Color, Line Width
Stamp
Date/Time, Page Number, Numbering
Authentication
User Authentication, Public User, User Name, Password, Account Track, Account Name, Password
After editing, click Save.
The Job Edit (print setting) screen closes and the edited content is saved. When storage is completed, Edited is displayed in Status of the job to be displayed in the secure job list of Print Manager.
supplementary explanationSecure jobs are always deleted after they are printed. The edited print job is not saved.