
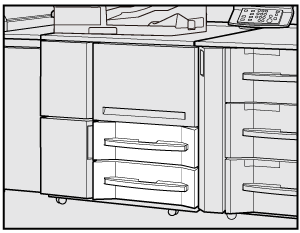
Loading paper into the Main Body Tray
To use paper other than loaded in a tray, change the setting of that tray in Paper Setting from the MACHINE screen or COPY screen.
Withdraw the tray to load paper in.
NOTICE
Trays cannot be withdrawn when the machine is not powered. Be sure to turn the sub power switch ON.
Only one tray can be withdrawn at a time.
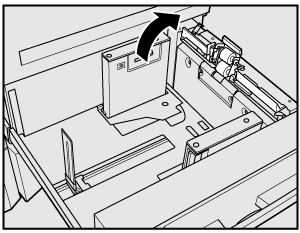
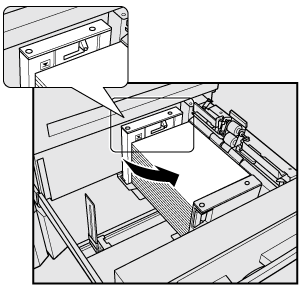
Open the feed roller.
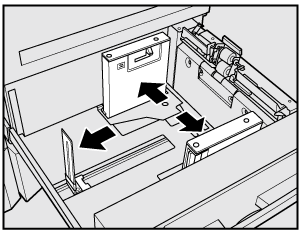
Fully widen the side guide plates and rear guide plate.
NOTICE
When moving the side guide plates, be sure to hold the lock release lever of the front one and the handle of the rear one. If moved only with the front side guide plate, the side guide plates may not be fixed in position.
Align the side guide plates to the loaded paper.
supplementary explanationPlace about 100 sheets of paper with the print side facing down. While pushing the lock release lever of the front side guide plate, align both side guide plates to the paper to perform positioning.
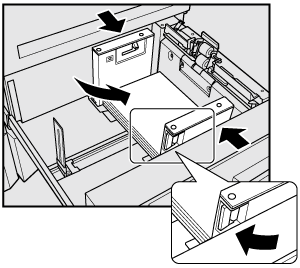
Place paper with the print side down.
NOTICE
Do not load above the limit level indicated on the side guide plate of the tray and the paper control lever at the air nozzle.
Align the side guide plate and rear guide plate to paper.
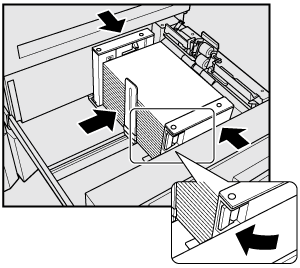
supplementary explanationAlign the stack of paper to the feed roller side of the tray. Pushing the lock release lever of the front side guide plate, move the both side guide plates to align them to the paper.
NOTICE
Be sure that the side guide plates and rear guide plate are securely aligned to the paper. If any gap is left between the guide plate and paper, the machine cannot detect the correct paper size, and machine trouble may be caused.
Close the feed roller, and push in the tray until it locks into place.
The Amount indicator of the tray will change from "
 " to "
 " on the MACHINE screen and COPY screen.
NOTICE
Do not push the tray into the machine forcibly. Otherwise, machine trouble may be caused due to unexpected shock.